 Skip to content
 This guide will explain our awesome online booking feature where your customers are able to book themselves in any time – any place.
Steps
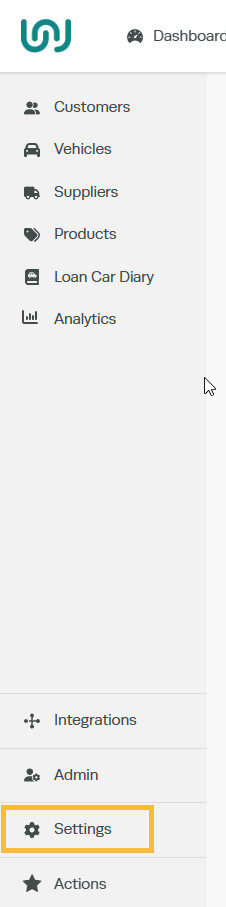
1. To set up your public bookings go into your Settings:
2. Select Public Booking:

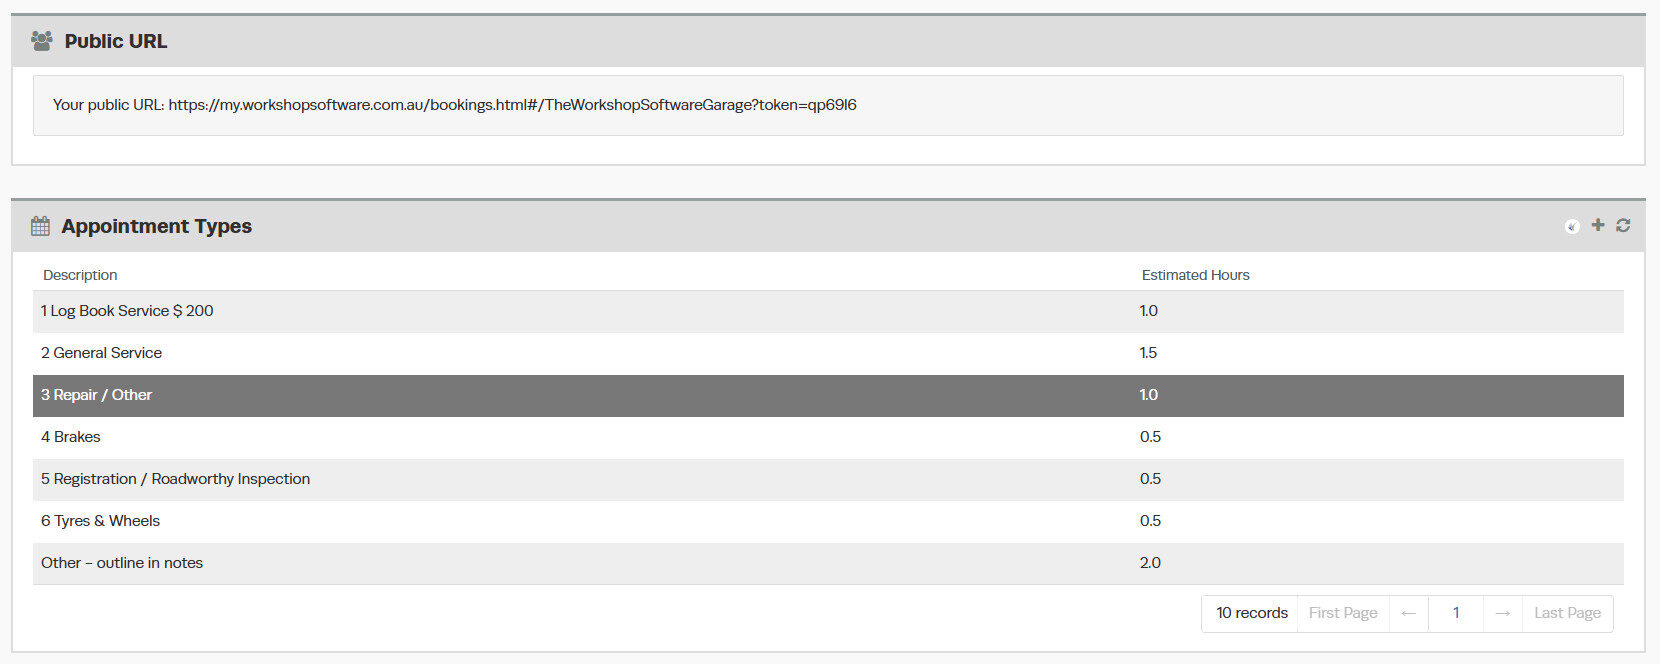
3. From here you are able to set up all your own booking types, we have a separate guide on How to set up your Appointment Types
3. You will be able to set your availability in the workshop:

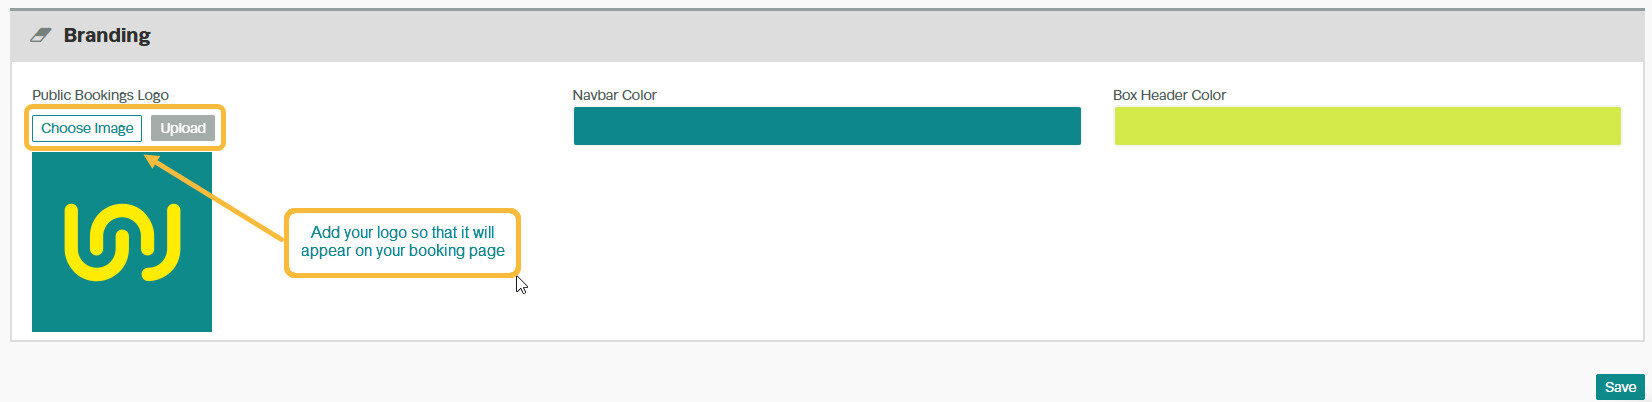
4. You can also set up your branding:
5. At the top of your booking settings, you will find a link. This is the link your customers will use to schedule their bookings for your workshop.

If you copy the link, and paste it into a new browser window, you will be able to view the page your customers will go to.
This is the same URL you can embed behind a “Request appointment” button on your website or link on your social media pages.
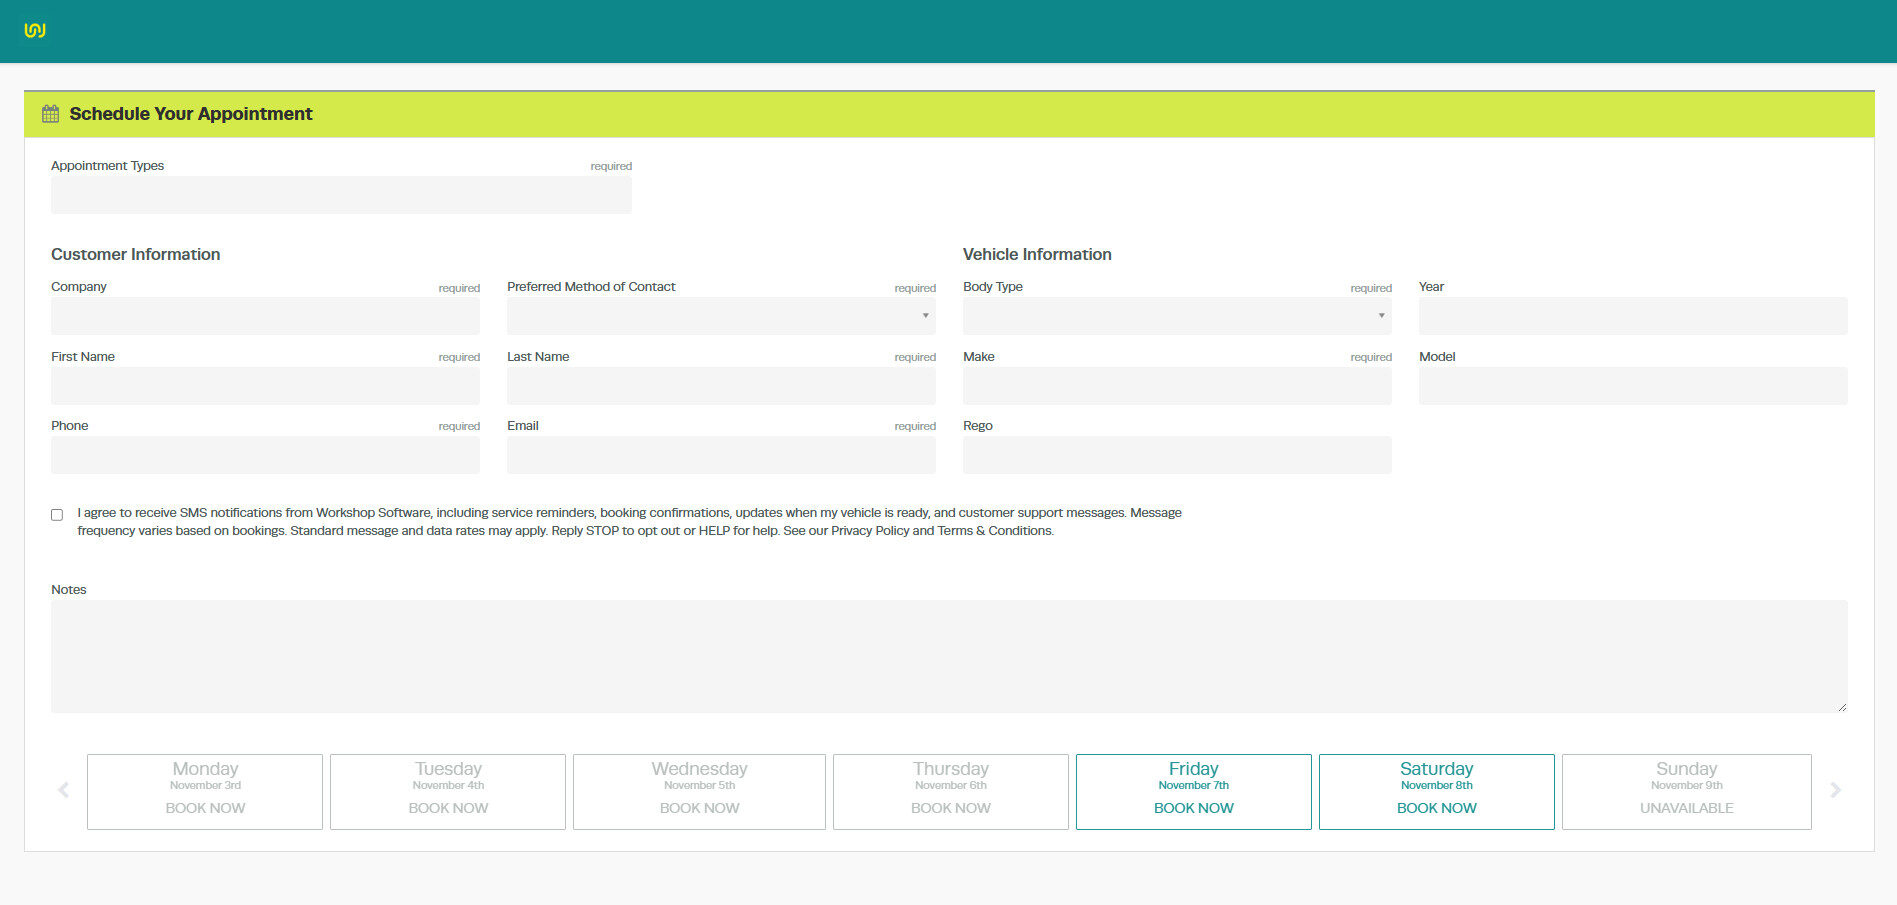
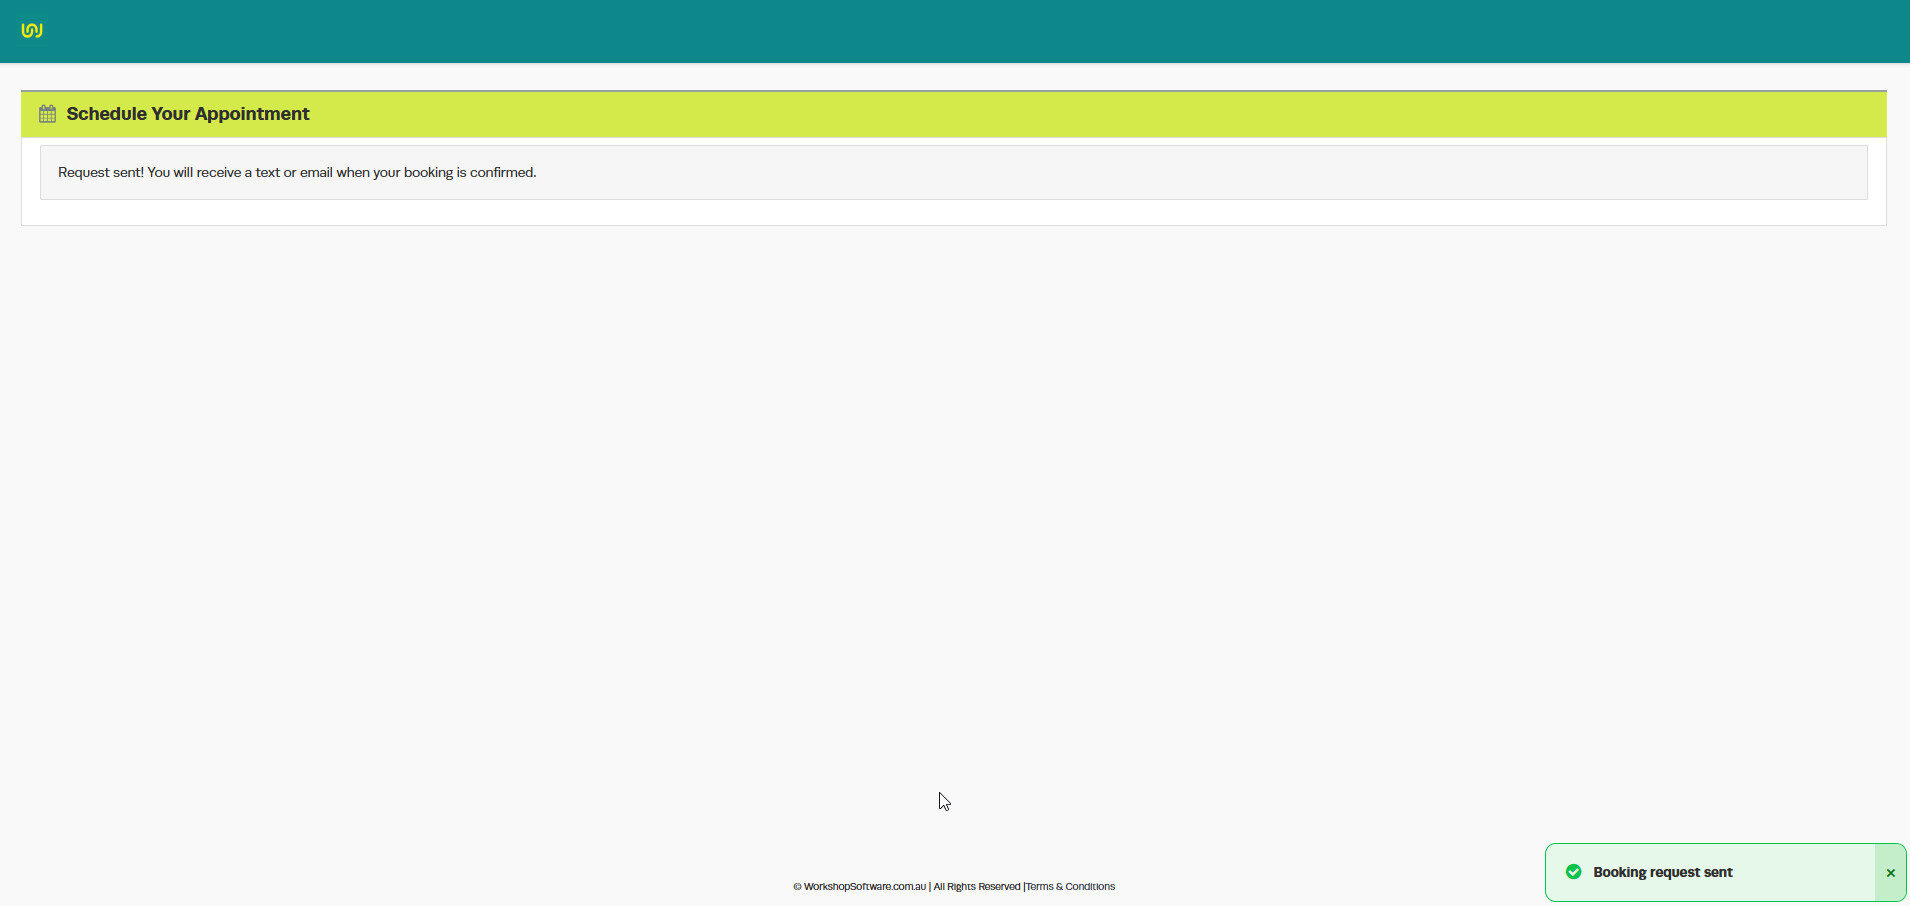
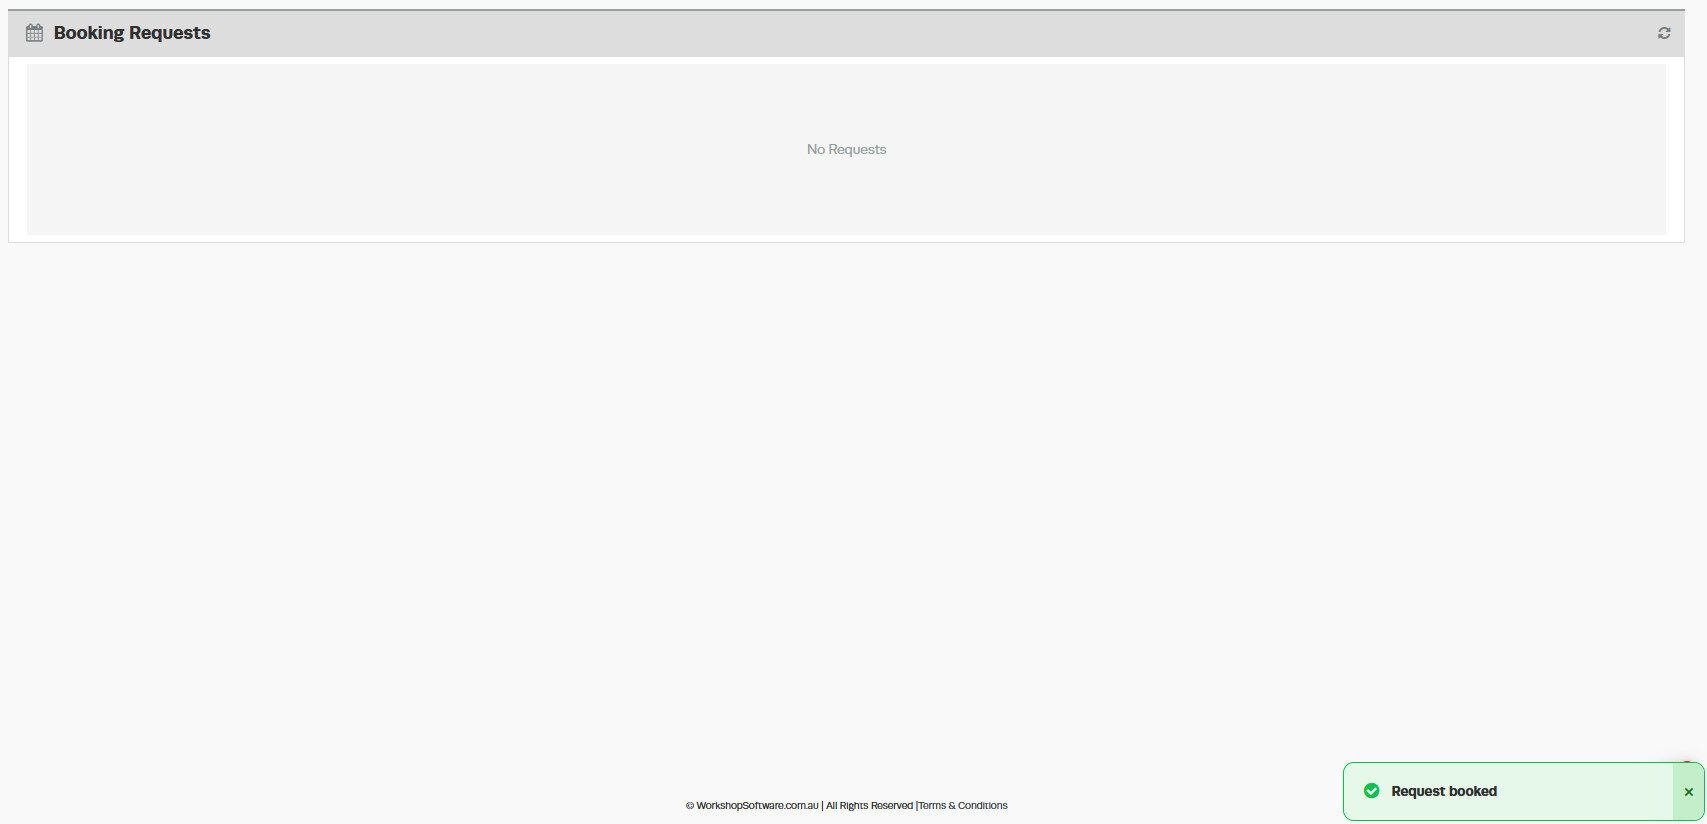
5. Once a customer fills in their details and chooses a booking time, they will get notified that a booking request has been sent:
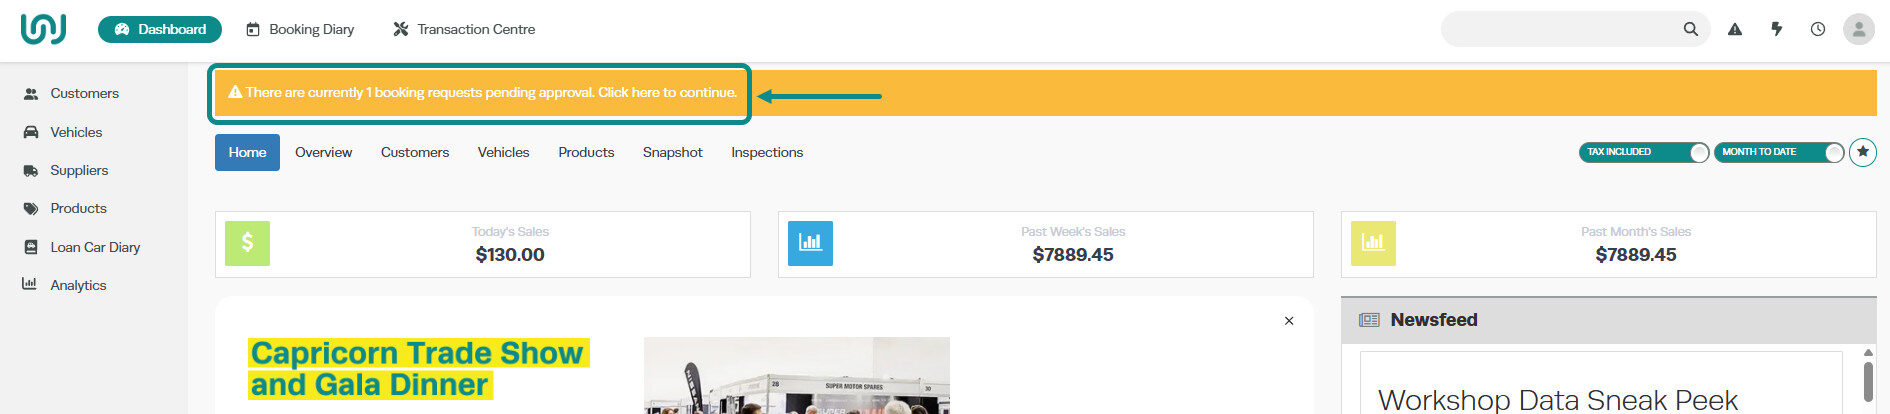
6. When a customer books in you will receive a notification on your dashboard where you can accept or change the booking details. To do this, press on the yellow icon:
7. You will see all the booking requests, from here you can view, approve or delete them:

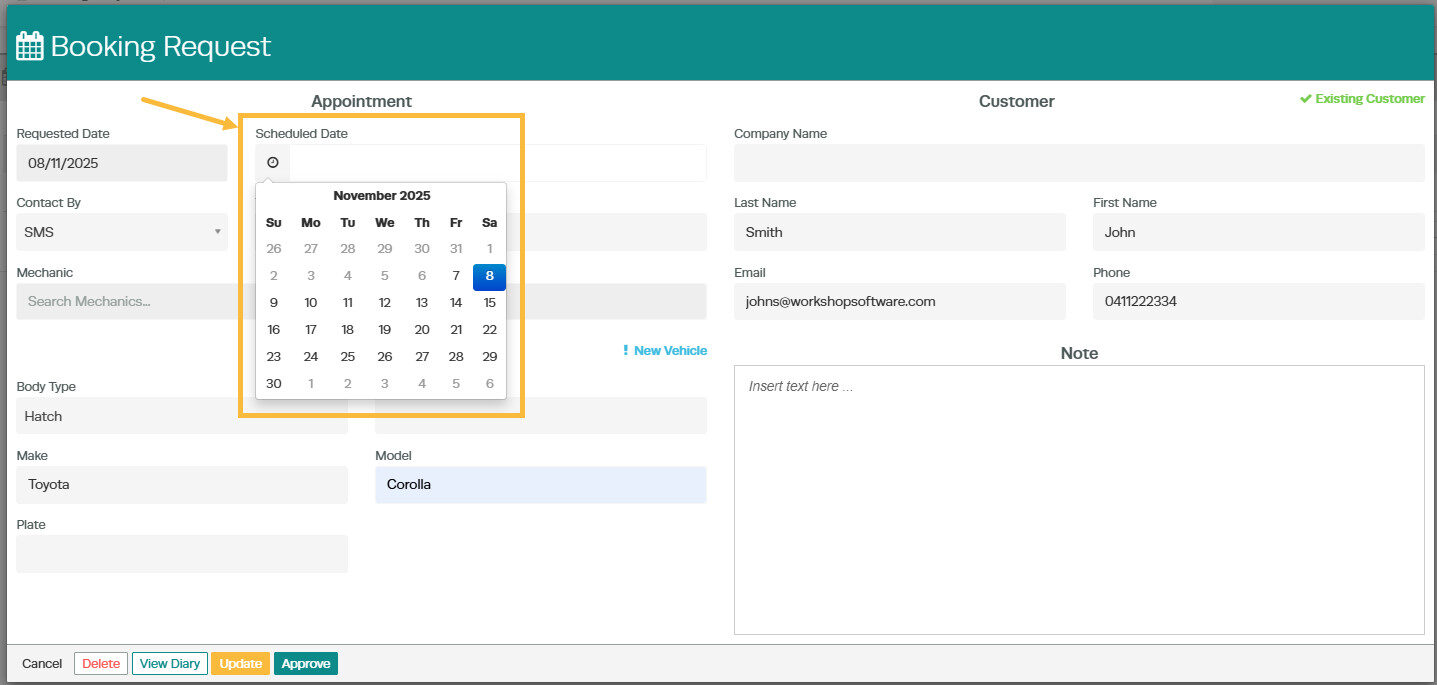
8. Click on the magnifying glass to view/approve the booking:

9. You will be able to choose the date and the time – if you change the date of the booking from the one the customer originally selected you can notify the customer once approved:
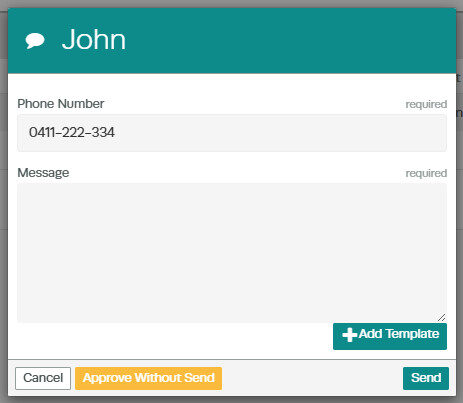
10. When you press the ‘Approve‘ button an email or text message will generate (depending on the customers preferred method of contact) where you can let them know the details or any changes to the date you have made. You can also set up templates so that the process is even easier!
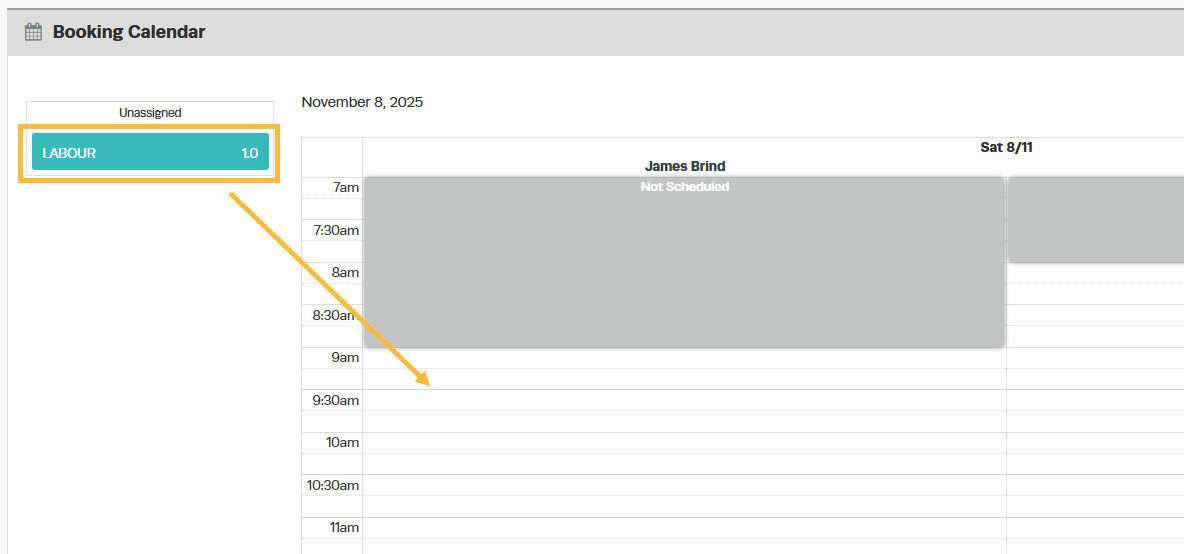
11. The booking is then approved and entered into your booking diary:
12. You can choose which mechanic you want to assign the job to by dragging and dropping in the calendar:

For further information see the below video!
