 Skip to content
 Integrating vvGarage – How to set up your appointment types with Workshop Software connects the two systems so data flows between them without manual entry. Once set up, this integration saves time and reduces the chance of errors when working across platforms. Follow the steps below to configure the integration.
 3. This allows you to add a new appointment type. You can create as many of these as you would like. To make sure that your appointment type syncs to VVGarage you must fill out all 3 fields:
1. Estimated Hours – Must be greater than 0.
2. Product Code – MUST be a valid Workshop Software LABOUR product.
3. Description – You can name this whatever you would like.
3. This allows you to add a new appointment type. You can create as many of these as you would like. To make sure that your appointment type syncs to VVGarage you must fill out all 3 fields:
1. Estimated Hours – Must be greater than 0.
2. Product Code – MUST be a valid Workshop Software LABOUR product.
3. Description – You can name this whatever you would like.
 4. When choosing your product code you must make sure to select the valid ‘Workshop Software Product Code’ options that appear. These will have a black ‘product tag’ on the left hand side.

 4. Press Save.
5. Now you can press the VVGarage ‘sync’ button to push your appointment types across to your app.
4. Press Save.
5. Now you can press the VVGarage ‘sync’ button to push your appointment types across to your app.

Good to Know
- Make sure you click Save after making your changes. If you navigate away before saving, your changes will be lost.
- If you experience any issues during setup, contact the Workshop Software support team for assistance.
Frequently Asked Questions
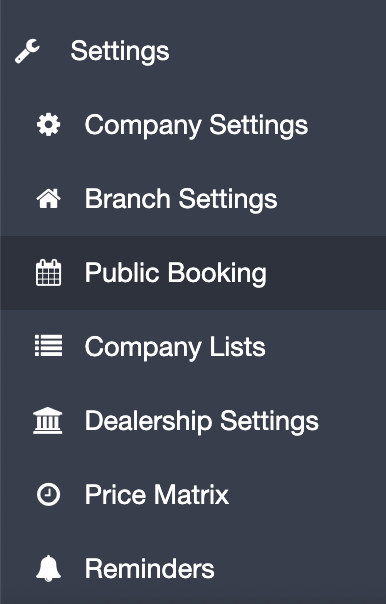
Where do I find this setting in Workshop Software?
Navigate to Settings in the left-hand menu. The specific option is described in the steps above.
Can I change this setting back later?
Yes. This setting can be changed at any time by following the same steps and adjusting the option as needed. Remember to click Save after making your change.
What do I do if the integration is not working?
First, check that your credentials are entered correctly and that both systems are accessible. If the issue persists, check the event log in Workshop Software for specific error messages, or contact the Workshop Software support team for assistance.
Related Articles
- Integrate your vvGarage account with Workshop Software
- Getting setup with vvGarage
- Resend your customer’s vvGarage login details
