 Skip to content
 This guide walks you through the steps to add my company logo to invoices in Workshop Software. This is a common task when managing your day-to-day invoicing and job card workflow.
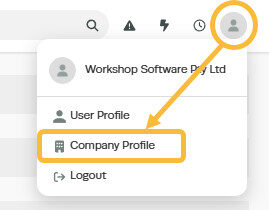
1. Click on the ‘Person‘ icon at the top right of the page and then click on ‘Company Profile’ from the dropdown box;
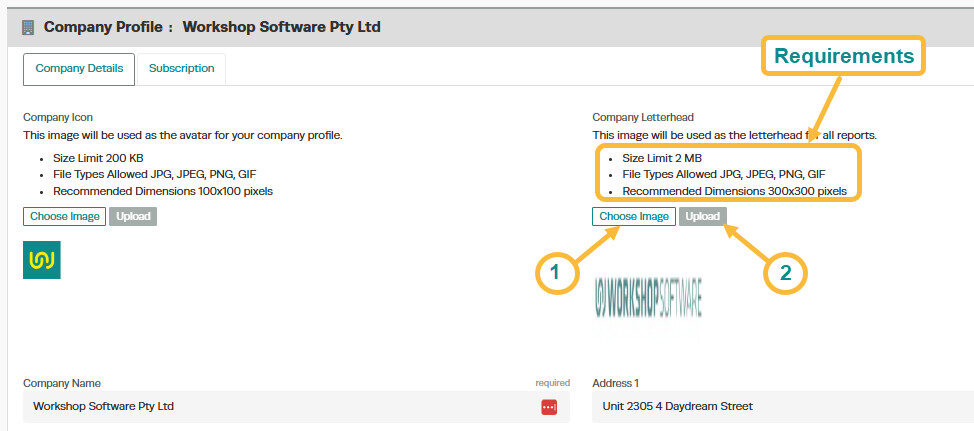
2. You can now upload your company logo to sit in the top left of your Workshop Software customer invoices.
Click ‘Choose Image’ to select the image you want to use and then click on ‘Upload’. Once the image has uploaded click on the ‘Save’ button at the bottom right of the screen. You will need to make sure that your logo’s meet the requirements listed otherwise you will not be able to upload them.
Please note: the preview will look a little distorted – best to print a dummy invoice to double check how it looks.
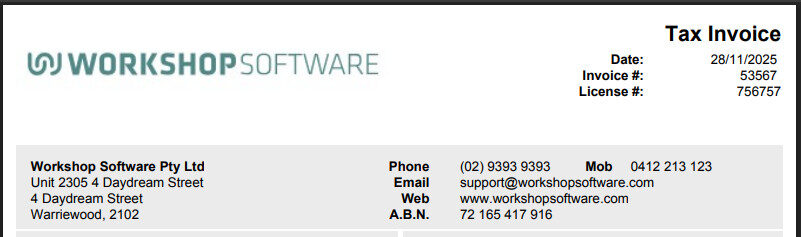
3. Your Company Letterhead will now show in the top left of customer invoices;
Good to Know
- Make sure you click Save after making your changes. If you navigate away before saving, your changes will be lost.
- You can print, email, or SMS the invoice to your customer once it is ready.
Frequently Asked Questions
Will this change appear on the printed or emailed invoice?
Yes. Any changes you make to the invoice content in Workshop Software will be reflected on the printed, emailed, or SMS version that your customer receives.
Can I undo this change to the invoice?
You can update the invoice again by following the same steps. If the invoice has already been finalised or synced to your accounting system, contact your administrator about the best approach.
