 Skip to content
 The Internal Invoice function lets you mark an Invoice as internal — for example, when work is done on a company vehicle. This helps you track paying customers separately from non-paying internal jobs in your reports.
Step 1: Create the Invoice
- Create your Invoice by following the How to Create a Customer Invoice guide.
Step 2: Mark as Internal
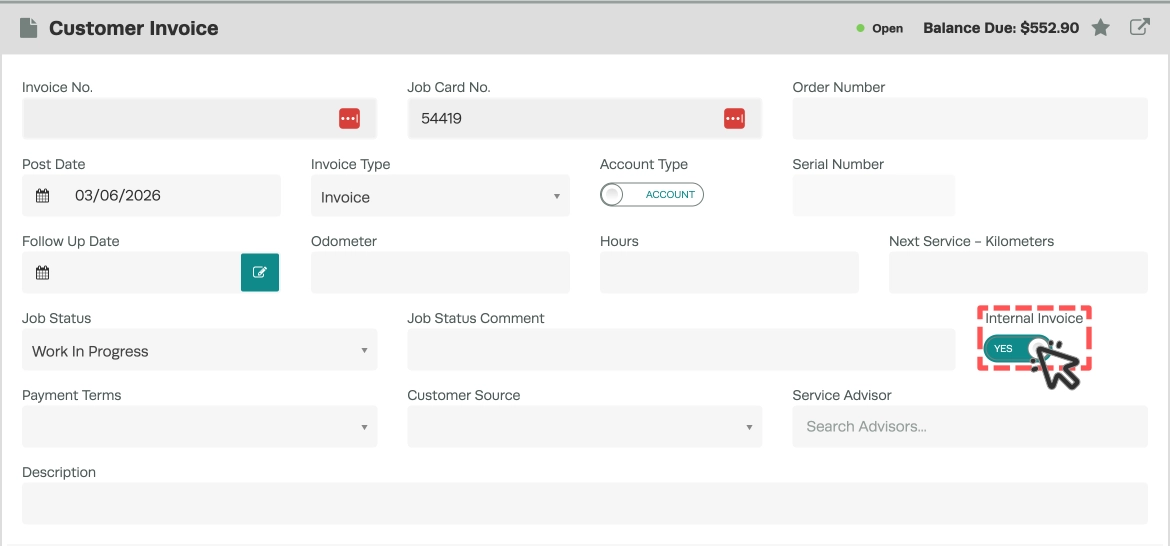
- On the Invoice, find the Internal Invoice toggle on the right-hand side.
- Change the toggle to Yes.
Step 3: Process the Invoice
- Click Process on the bottom right of the screen.
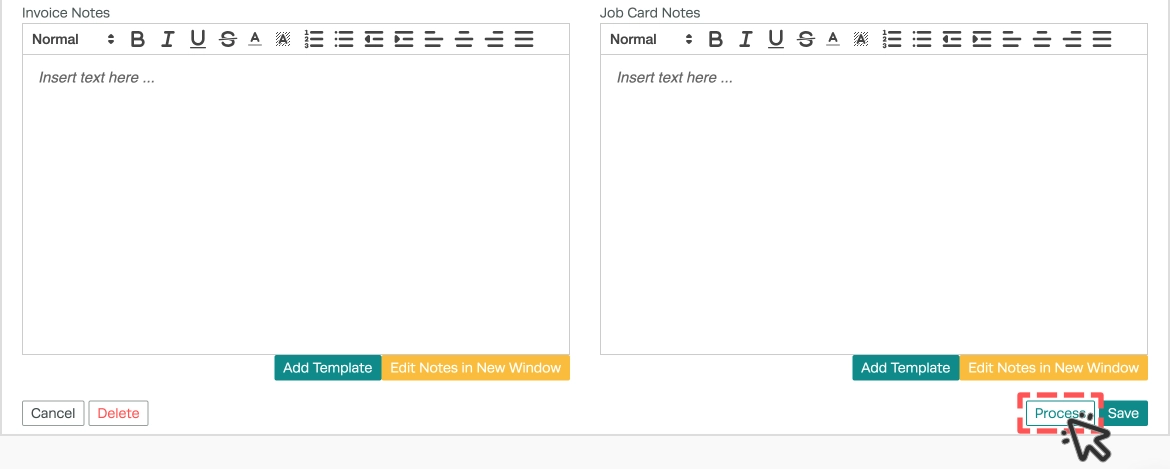
- The invoice is now processed and marked as Internal.
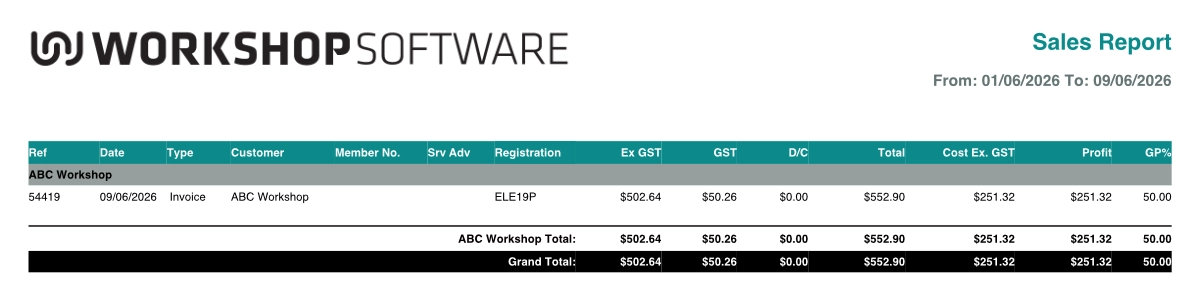
Step 4: Use in Reporting
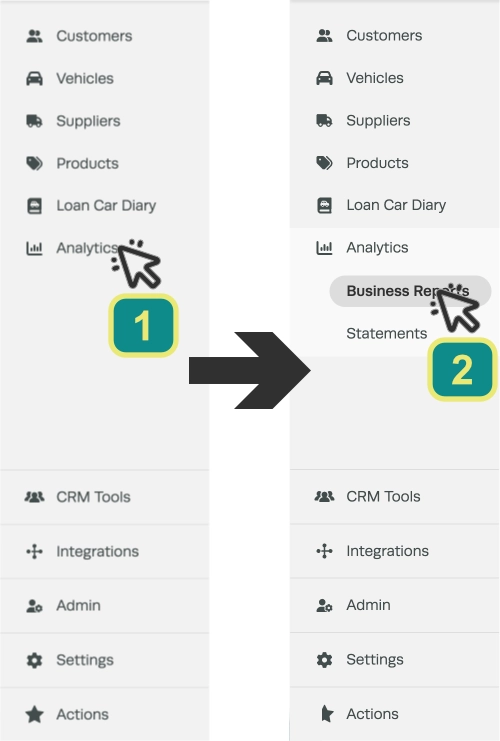
- Access Business Reports by clicking Analytics (1) then Business Reports (2) in the left sidebar menu.
- In the Sales Reports header you may filter a Sales Report to include or exclude Internal Only invoices using the Internal Only drop down menu.
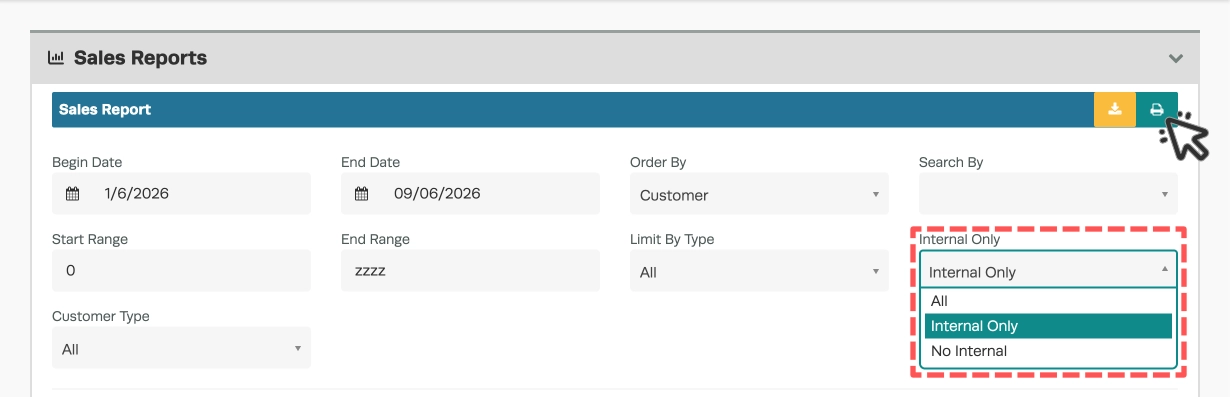
- Click the printer icon on the right hand side of the Sales Report heading to generate the report.
Good to Know
- This setting can be toggled on or off at any time before the invoice is finalised.
- Internal invoices are useful for tracking work on company vehicles, warranty jobs, or other non-billable work.
- Several sales reports include an Internal field that lets you filter or separate internal jobs from customer-paying jobs.
Frequently Asked Questions
Does marking an invoice as internal affect the total?
No, the invoice total remains the same. The internal flag is for reporting purposes only — it helps you distinguish between customer-paid and company-paid work.
Can I change an invoice from internal to external after processing?
You may need to adjust the toggle before finalising. Check with your administrator if the invoice has already been synced to your accounting system.
