 Skip to content
 Managing customer records accurately is important for invoicing, communication, and reporting. This guide shows you how to make a customer a biller in Workshop Software so your customer information stays up to date.
1. Create a customer using this guide:
How to Create a Customer and a Vehicle
2. Look at the right hand side of your customer at the 3 toggles. Flick the third toggle from ‘Non-biller’ to ‘Biller’.

3. Now search and find your Non-Biller. Make sure the toggle is set to ‘Non-Biller’. Then type your billers name in the ‘Biller’ field and select their profile.

4. Now the Non-Billers should appear at the bottom of the Billers profile in the ‘Billed Customers’ section.

5. Now when any of the ‘Billed Customers’ invoices need to be paid they can be paid through the Biller. This process is as normal. Here is a guide if this is not familiar:
How to Allocate a Customer Payment
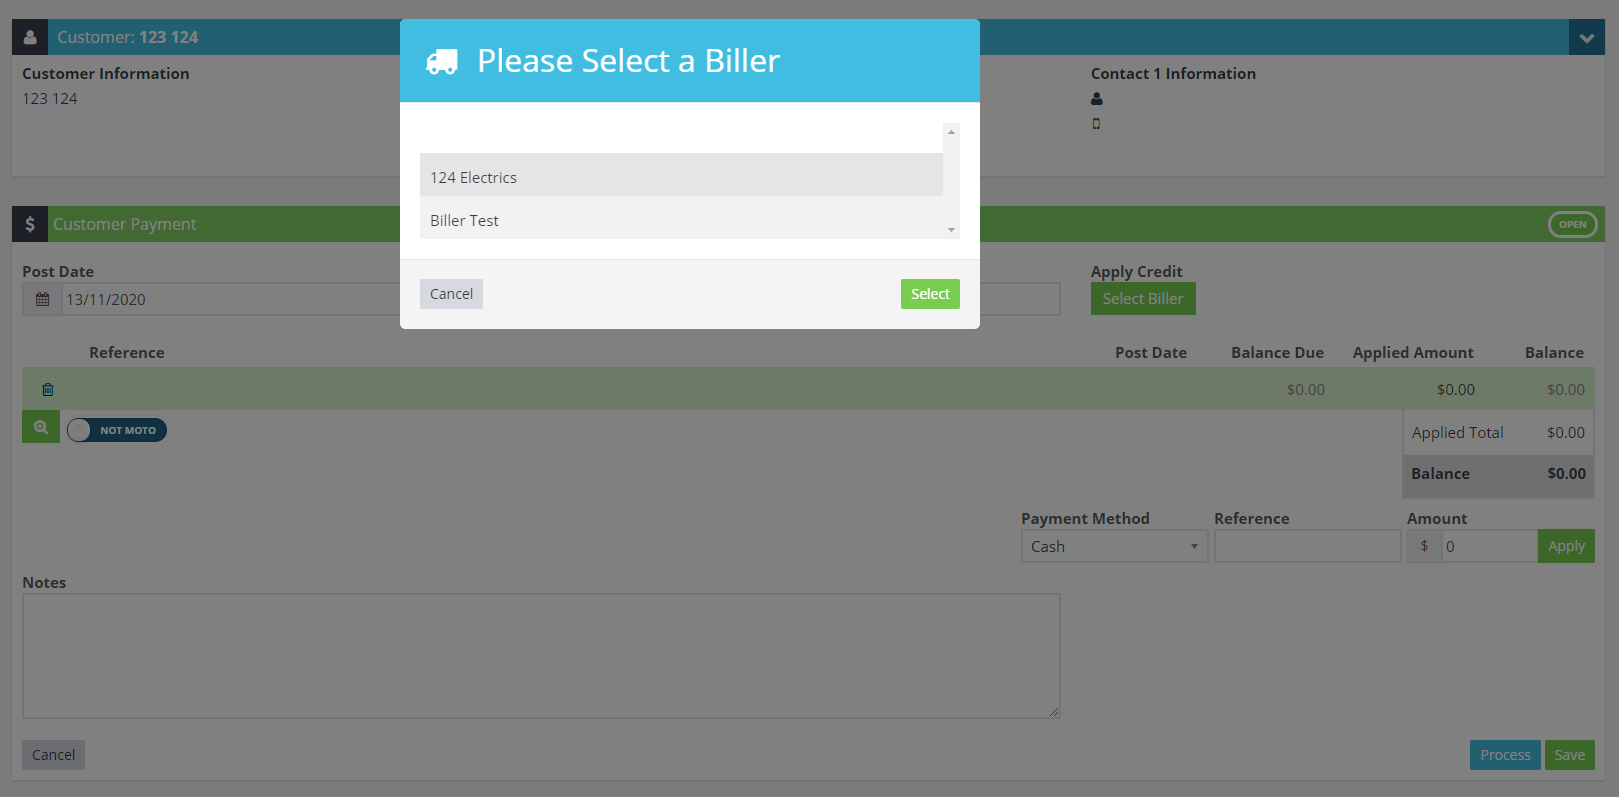
6. The only step that will change is selecting your biller:
Good to Know
- You can search for a customer by name, phone number, or email address using the search bar.
- Keeping customer records up to date ensures accurate invoicing and reliable communication via SMS or email.
Frequently Asked Questions
Will this change affect existing invoices for this customer?
Changes to customer details (such as name, address, or contact information) apply to future invoices. Existing completed invoices retain the details that were on the invoice at the time it was created.
Do I need a specific subscription level for this feature?
Some features in Workshop Software are available on specific subscription plans. If you do not see the option described in the steps above, check your current plan or contact the Workshop Software team to find out if an upgrade is required.
